- 877.861.5078
- Schedule a Tour
By Barbara Hiatt
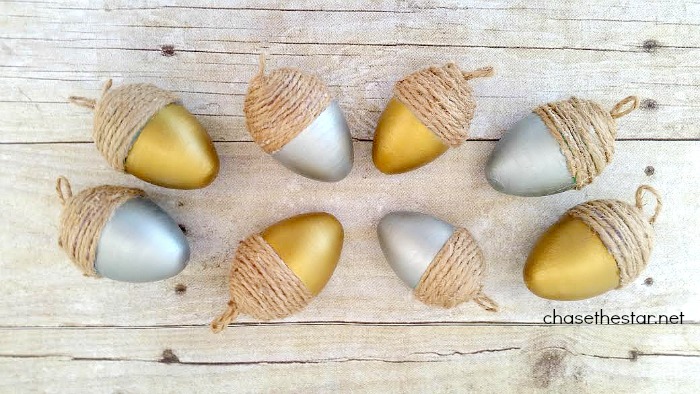
No matter how simple you plan on keeping your Thanksgiving décor, it’s the biggest meal of the year so the table has to look great! The trick is making it look amazing, while putting forth minimal effort. These decorative Painted Acorns are the perfect way to add a little dazzle to your table in no time, and with a very small budget. They are so easy to put together, and the materials used may surprise you!
Follow along with this simple tutorial to make your own DIY Painted Acorns
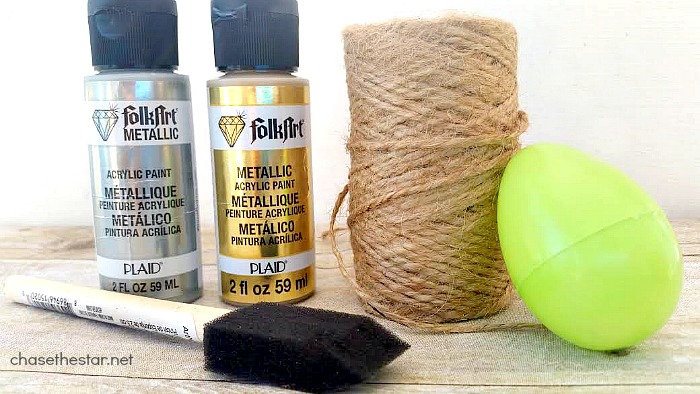
Materials:
Small plastic Easter eggs
Gold and Silver acrylic paint
2 Foam applicators
Jute twine
Hot glue gun / glue stick
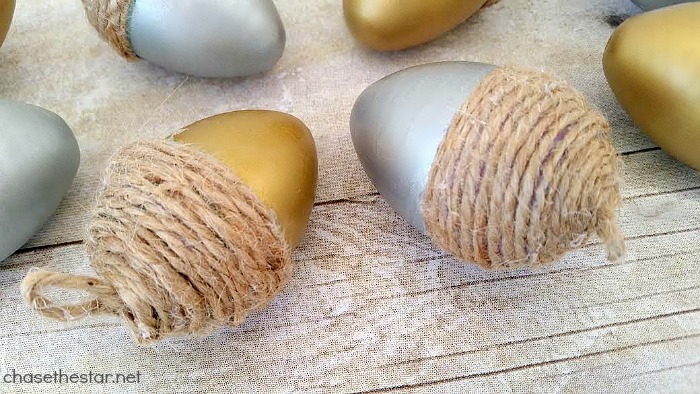
Step 1: Pull the eggs apart and set the rounded halves aside. Paint the pointy halves in alternating gold and silver. Allow to dry and add 1-2 more coats. Let the paint dry completely, preferably overnight.
Step 2: Wrap twine around the rounded half securing with hot glue. Allow a little extra loop on the end to look like the stem.
Step 3: Glue the eggs back together, or if you prefer, fill each ‘acorn’ with a seasonal treat like candy corn, or whatever you like!
This is a great way to re-purpose old plastic Easter eggs that would otherwise end up in the trash! If you want to make some for a kid’s table at Thanksgiving dinner, leave them in their original color. The kids will love the bright hues!
For a fun DIY kid’s table centerpiece check this one out, using old milk bottles!
Having pretty Thanksgiving decorations can be easy and budget-friendly. Get creative! DIY, reuse and re-purpose items to make unique decorative pieces that are sure to impress your Thanksgiving guests!


